Introduction
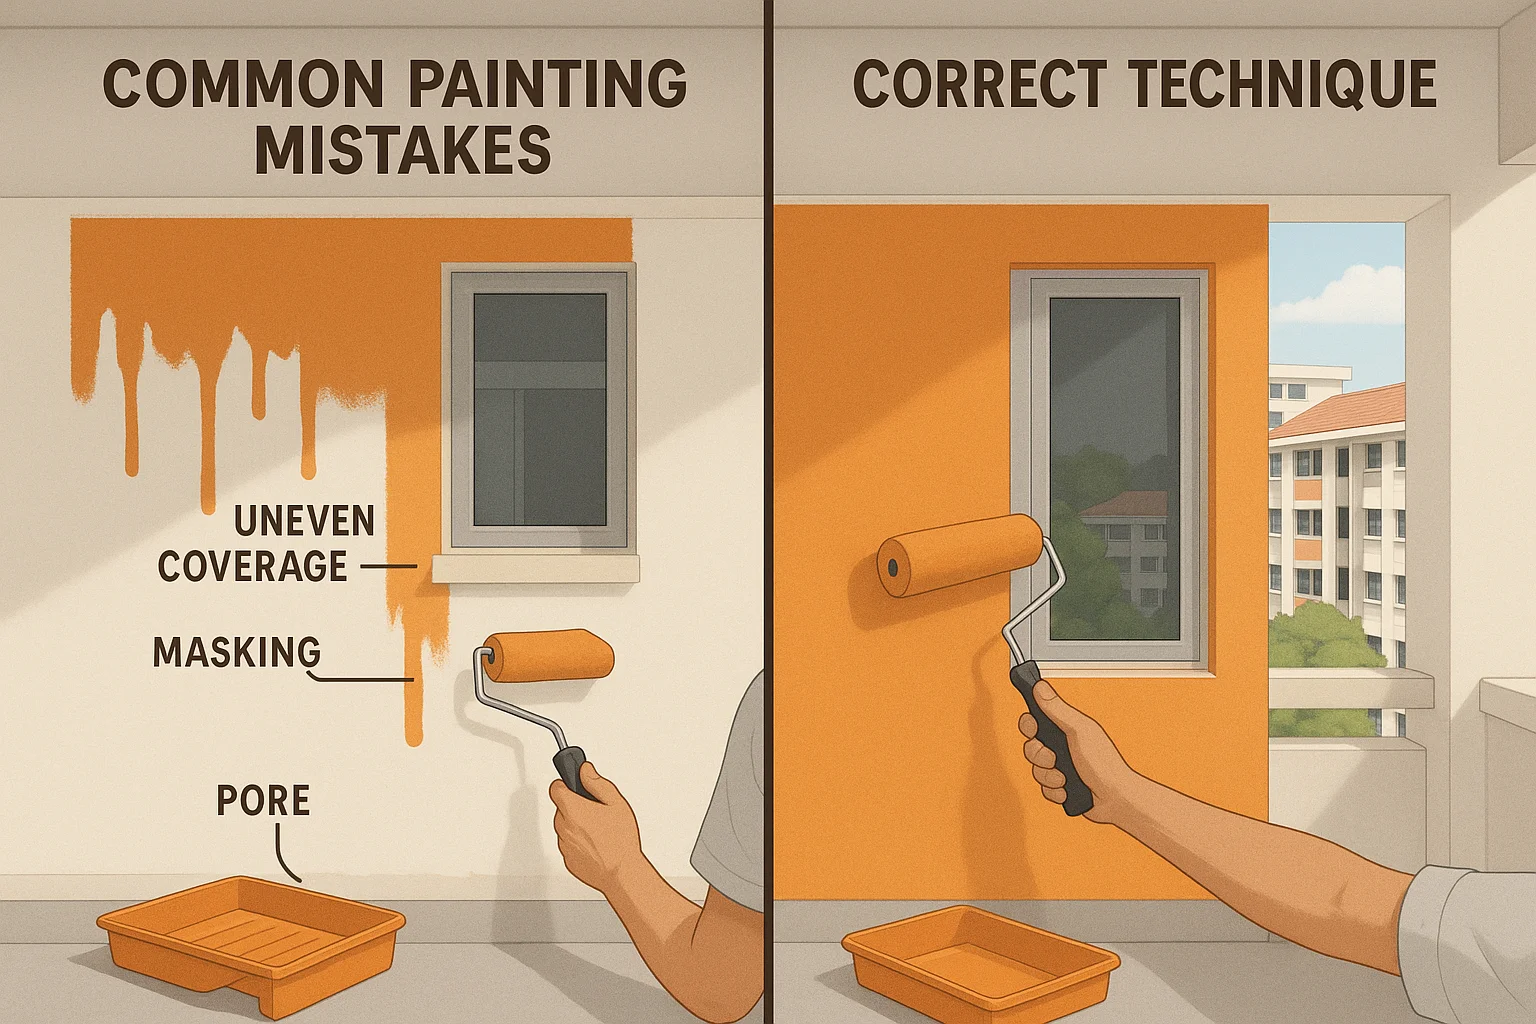
DIY painting can save money, but common mistakes can turn a weekend project into a costly disaster. Here are the top 10 mistakes Singaporeans make when painting their homes, and how to avoid them.
Mistake #1: Skipping Surface Preparation
The Problem: Painting over dirty, dusty, or flaky surfaces leads to poor adhesion and peeling paint within months.
The Fix:
- Clean walls with sugar soap or TSP solution
- Sand glossy surfaces for better adhesion
- Fill cracks and holes with spackling compound
- Apply primer to bare surfaces or over stains
Mistake #2: Buying Cheap Paint
The Problem: Budget paints require more coats, fade faster, and don't resist mold in Singapore's humidity.
The Fix:
- Invest in quality paint (Nippon, Gush, Benjamin Moore)
- Calculate cost per square foot over 5 years
- Premium paint often needs fewer coats
Mistake #3: Not Using Primer
The Problem: Without primer, paint doesn't adhere properly and color coverage is uneven.
The Fix:
- Always prime new drywall or plaster
- Use stain-blocking primer over water stains
- Prime when changing from dark to light colors
Mistake #4: Wrong Paint Finish
The Problem: Using flat paint in high-traffic areas leads to marks and stains that can't be cleaned.
The Fix:
- Flat/Matte: Ceilings and low-traffic areas
- Eggshell: Living rooms and bedrooms
- Satin: Kitchens and bathrooms
- Semi-gloss: Doors, trim, high-moisture areas
Mistake #5: Painting in Wrong Conditions
The Problem: Painting in high humidity or extreme heat affects drying and finish quality.
The Fix:
- Paint when humidity is below 70%
- Avoid painting in direct sunlight
- Use air conditioning to control environment
- Don't paint during haze season
Mistake #6: Poor Cutting-In Technique
The Problem: Wobbly lines at edges and corners look unprofessional.
The Fix:
- Use quality angled brushes (2-3 inch)
- Load brush properly, don't overload
- Practice on cardboard first
- Use painter's tape for crisp lines
Mistake #7: Not Maintaining Wet Edge
The Problem: Lap marks and uneven finish from paint drying before overlapping.
The Fix:
- Work in manageable sections
- Always overlap into wet paint
- Don't stop in the middle of a wall
- Work quickly in small areas
Mistake #8: Applying Too Much or Too Little Paint
The Problem: Too much paint causes drips and runs; too little gives patchy coverage.
The Fix:
- Load roller properly - roll off excess
- Apply even pressure throughout
- Two thin coats better than one thick coat
- Follow manufacturer coverage guidelines
Mistake #9: Removing Tape Too Late
The Problem: Removing tape after paint fully dries causes peeling and ragged edges.
The Fix:
- Remove tape when paint is touch-dry (30-60 minutes)
- Pull tape at 45-degree angle
- Score edge with utility knife if needed
Mistake #10: Underestimating Time and Effort
The Problem: Rushing leads to poor results and frustration.
The Fix:
- Allow 3-5 days for a 4-room flat
- Factor in prep time (often longer than painting)
- Allow 4-6 hours drying between coats
- Don't paint when tired or rushed
Conclusion
DIY painting can be rewarding if done correctly. Avoid these mistakes, take your time, and you'll achieve professional-looking results. If it seems overwhelming, there's no shame in hiring professionals!