Application Guide · Last updated May 2026
Limewash Application Guide Singapore: How It's Really Done
Keep reading Listen to the Walls — the limewash collection · Limewash care and maintenance · Limewash ceiling in Singapore
Exclusive in Singapore
332 limewash colour combinations to choose from — exclusive in Singapore
Every pairing uses official Gush Core/Care and Raffles Lime Wash colours, curated exclusively by Pico X Health for Singapore homes.
Gush Core $1,688 · Gush Care $2,088 for Condo & HDB units below 1,000 sqft
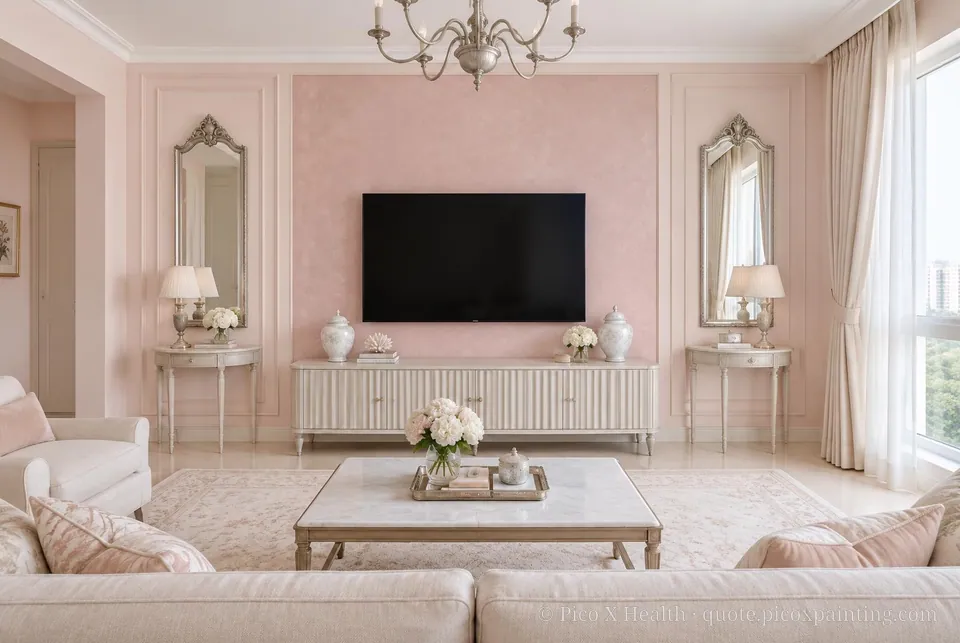
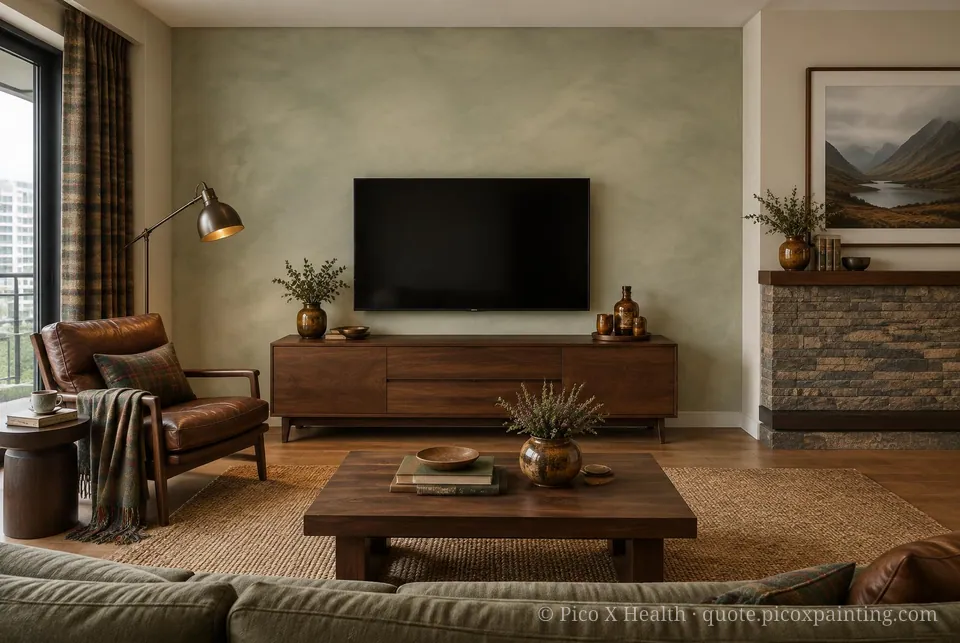
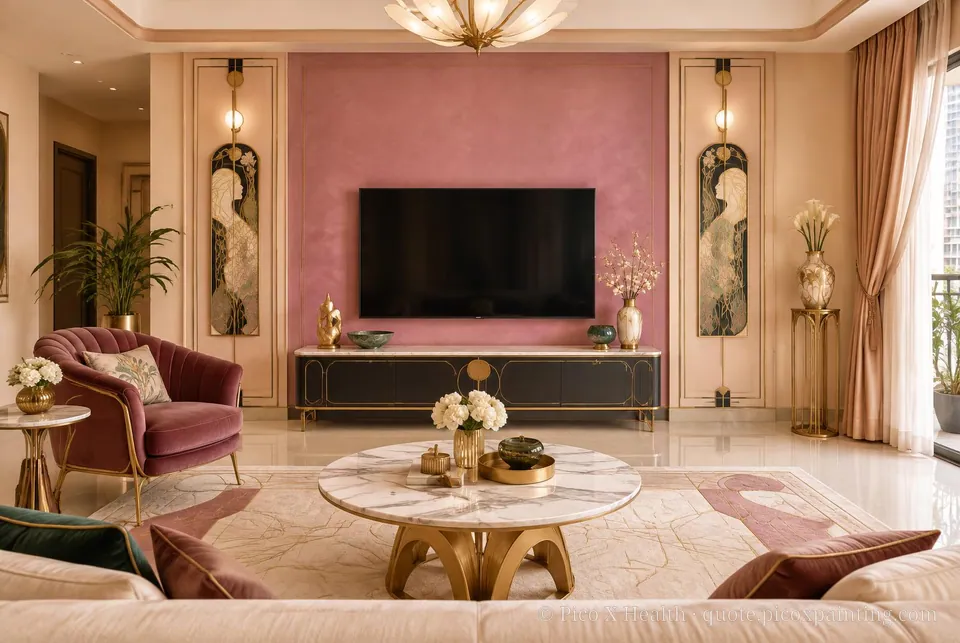
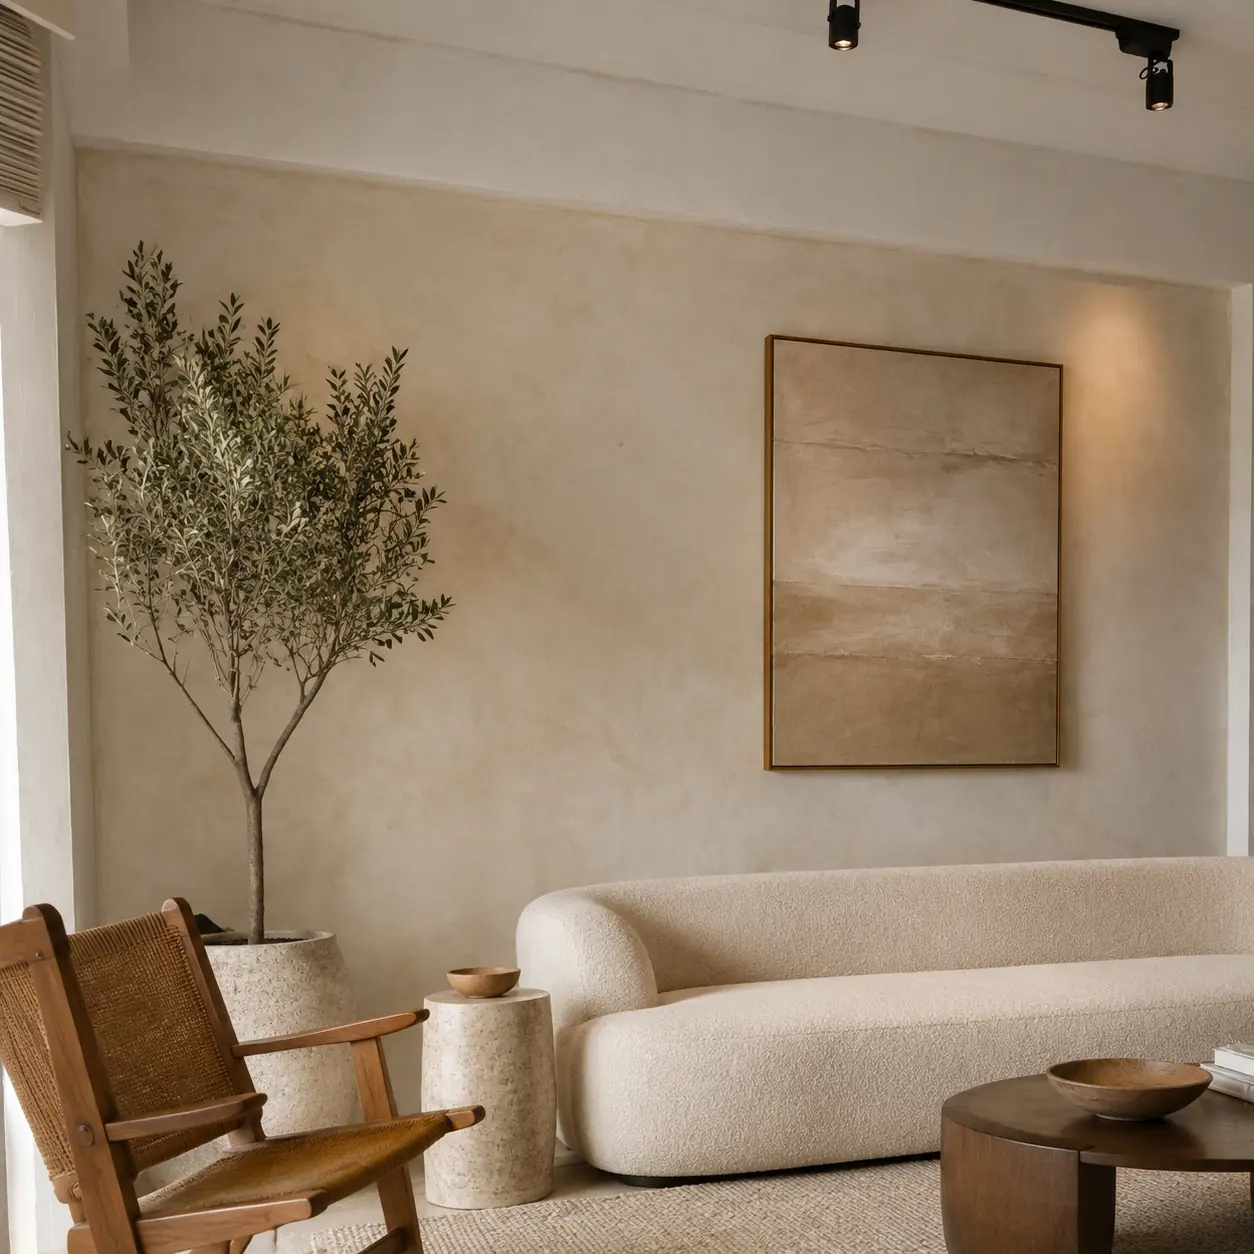
- Georgian Soft / Airy — Cherry Blossom limewash
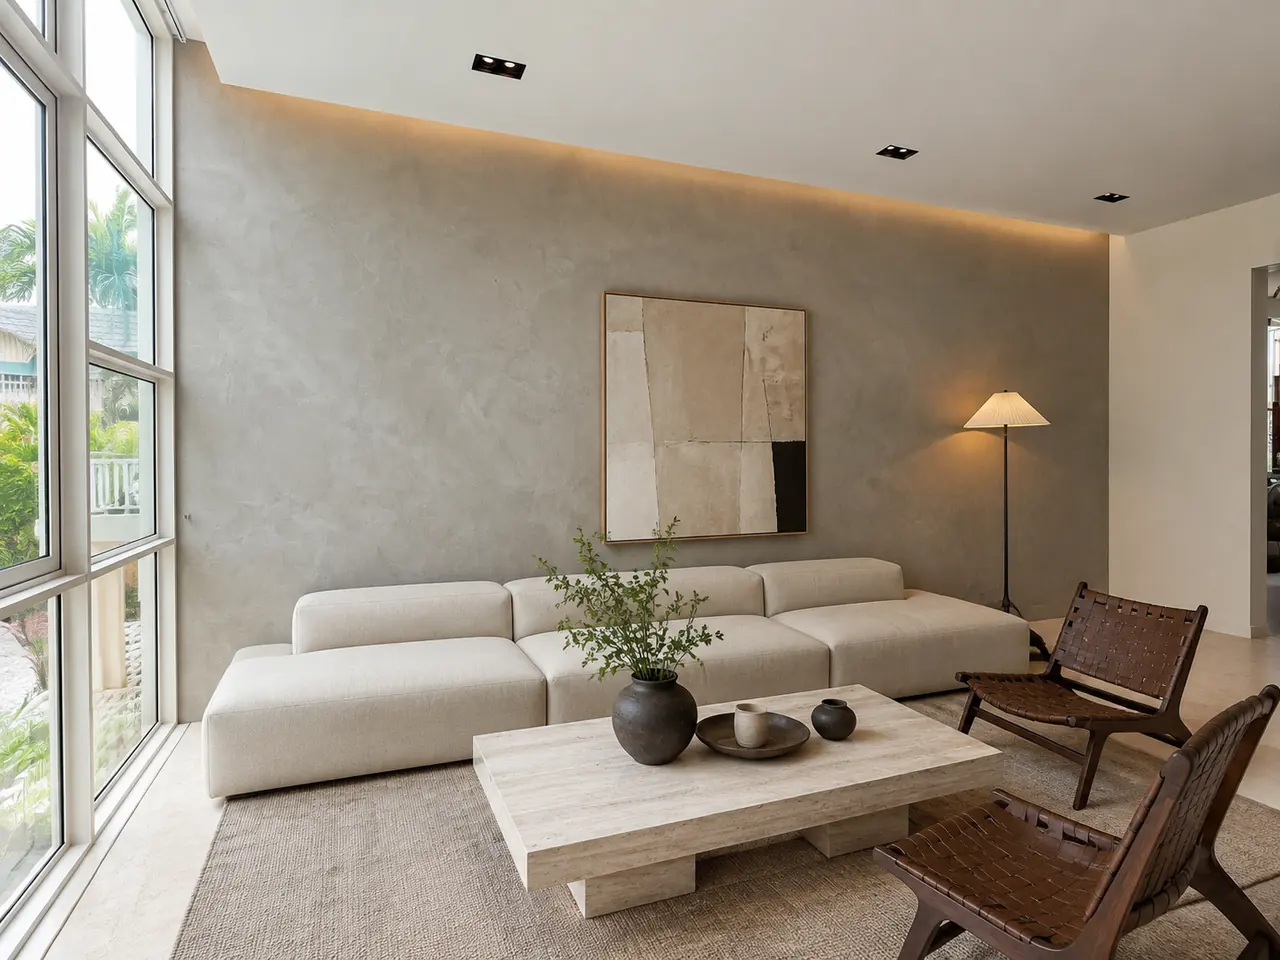
- Scottish Highlands Soft / Airy — Silver Sage limewash
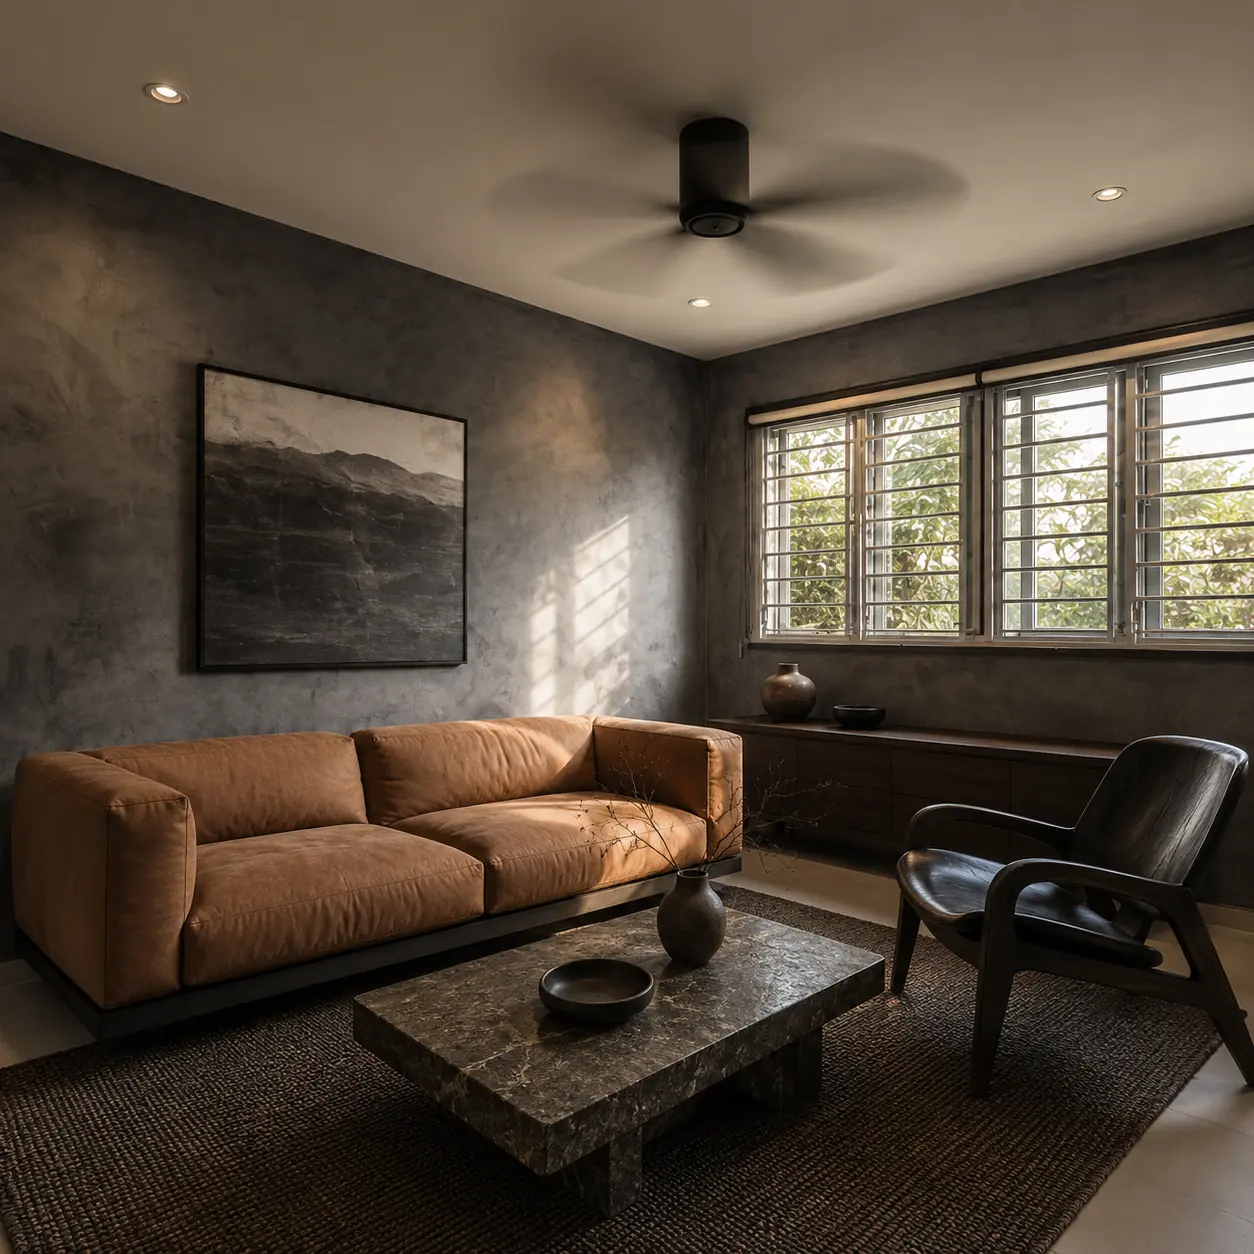
- Viennese Secession Soft / Airy — Velvet Burg limewash
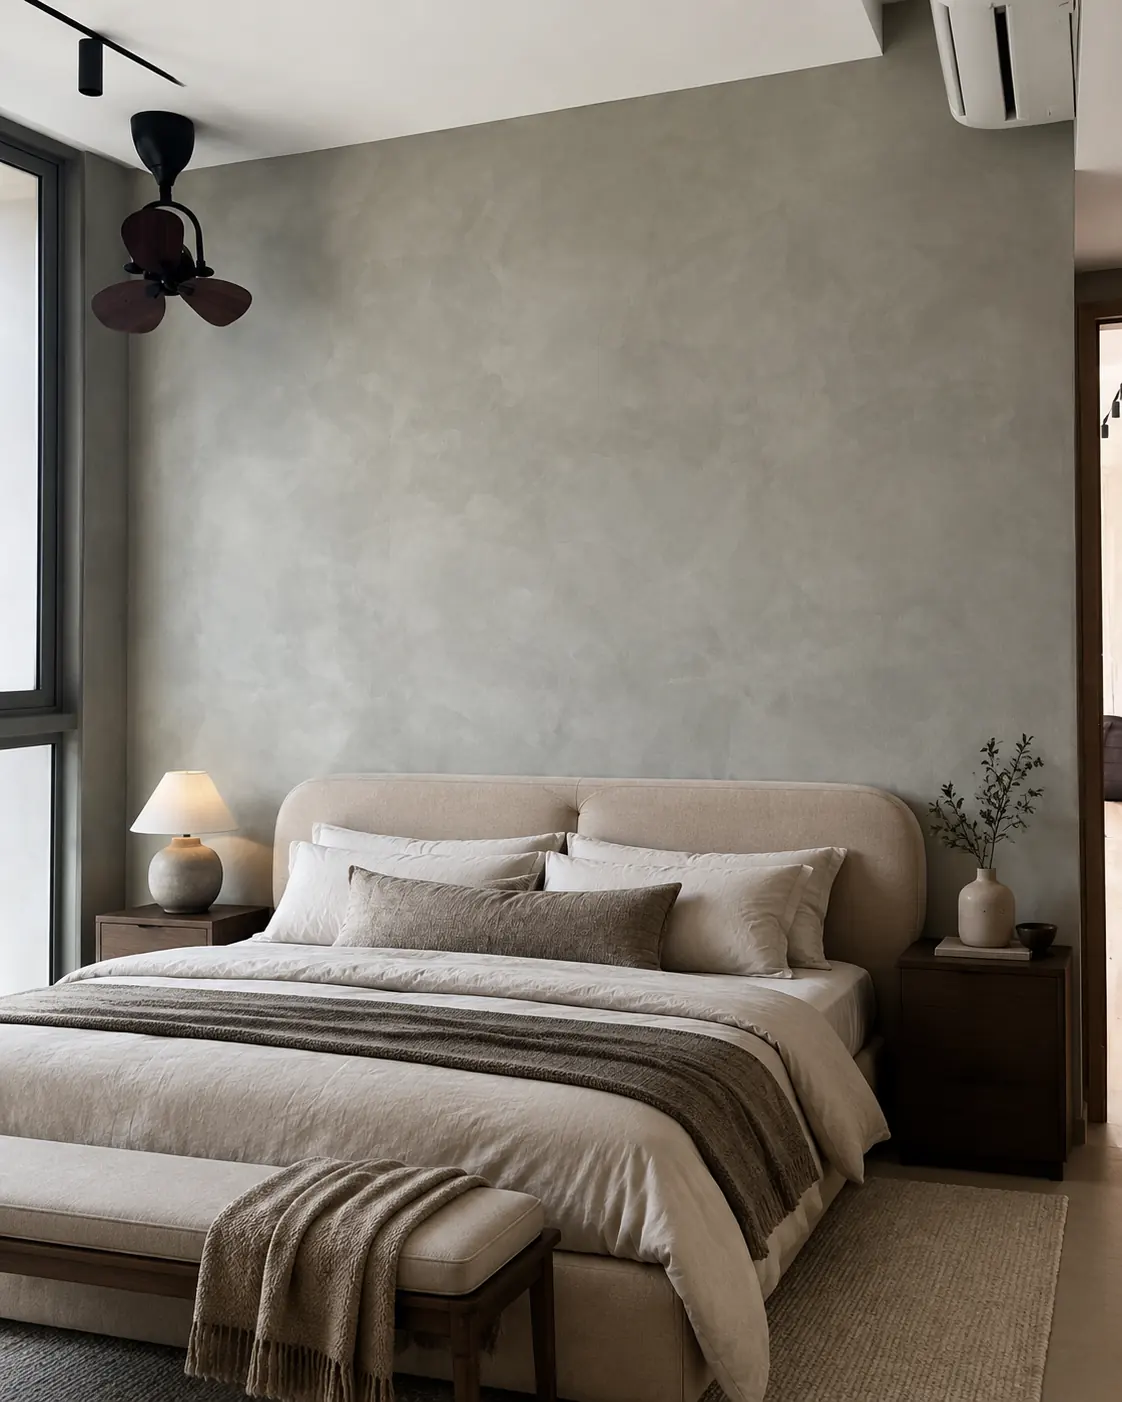
- Alpine Chalet Soft / Airy — Silver Sage limewash
- Swiss Modern Soft / Airy — Cement Gray limewash
- Prague Art Nouveau Soft / Airy — Silver Sage limewash
Browse all 332 limewash colour combinations · Wellness Painting package from $1,688
How is limewash applied on Singapore HDB walls?
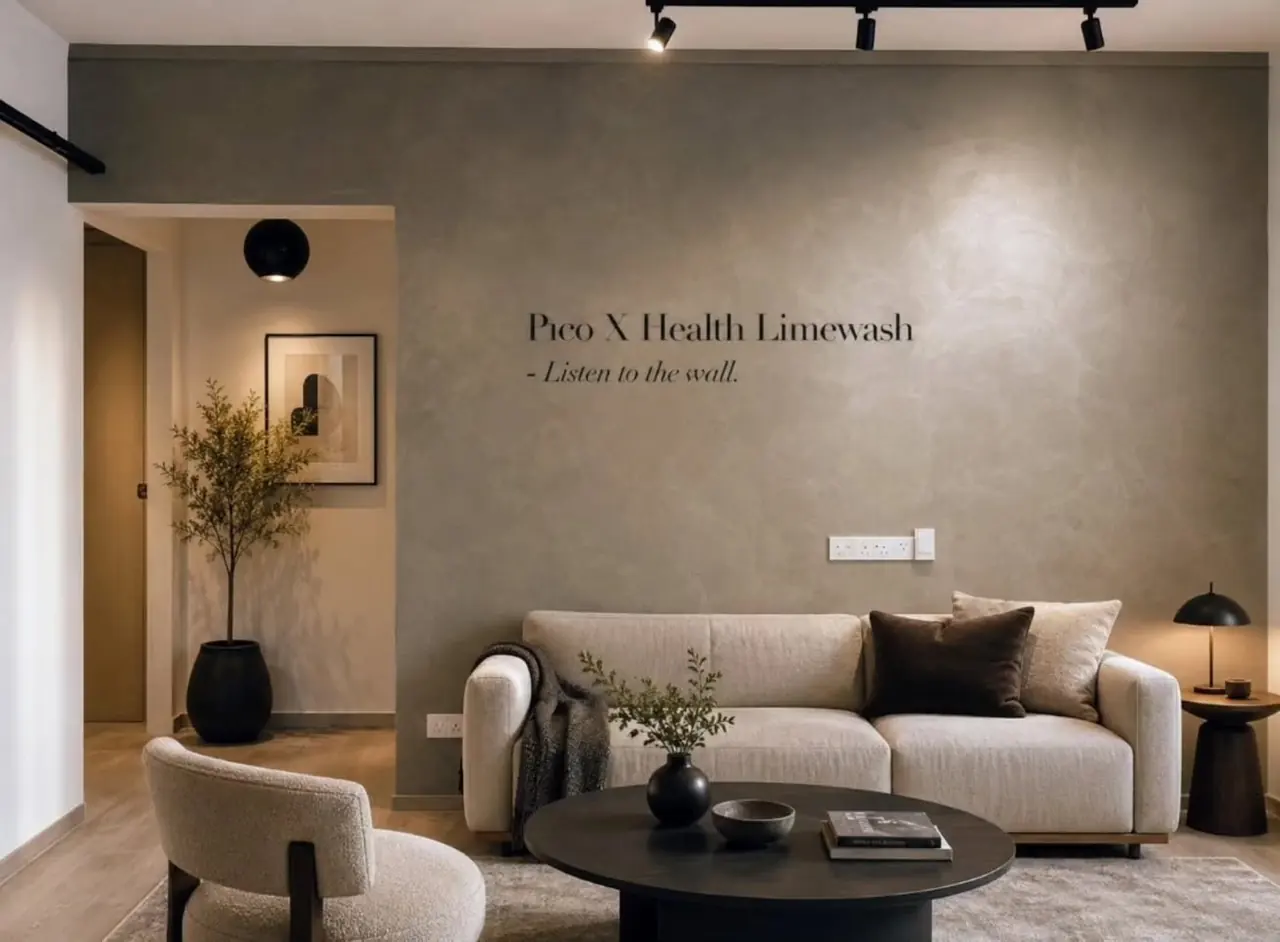
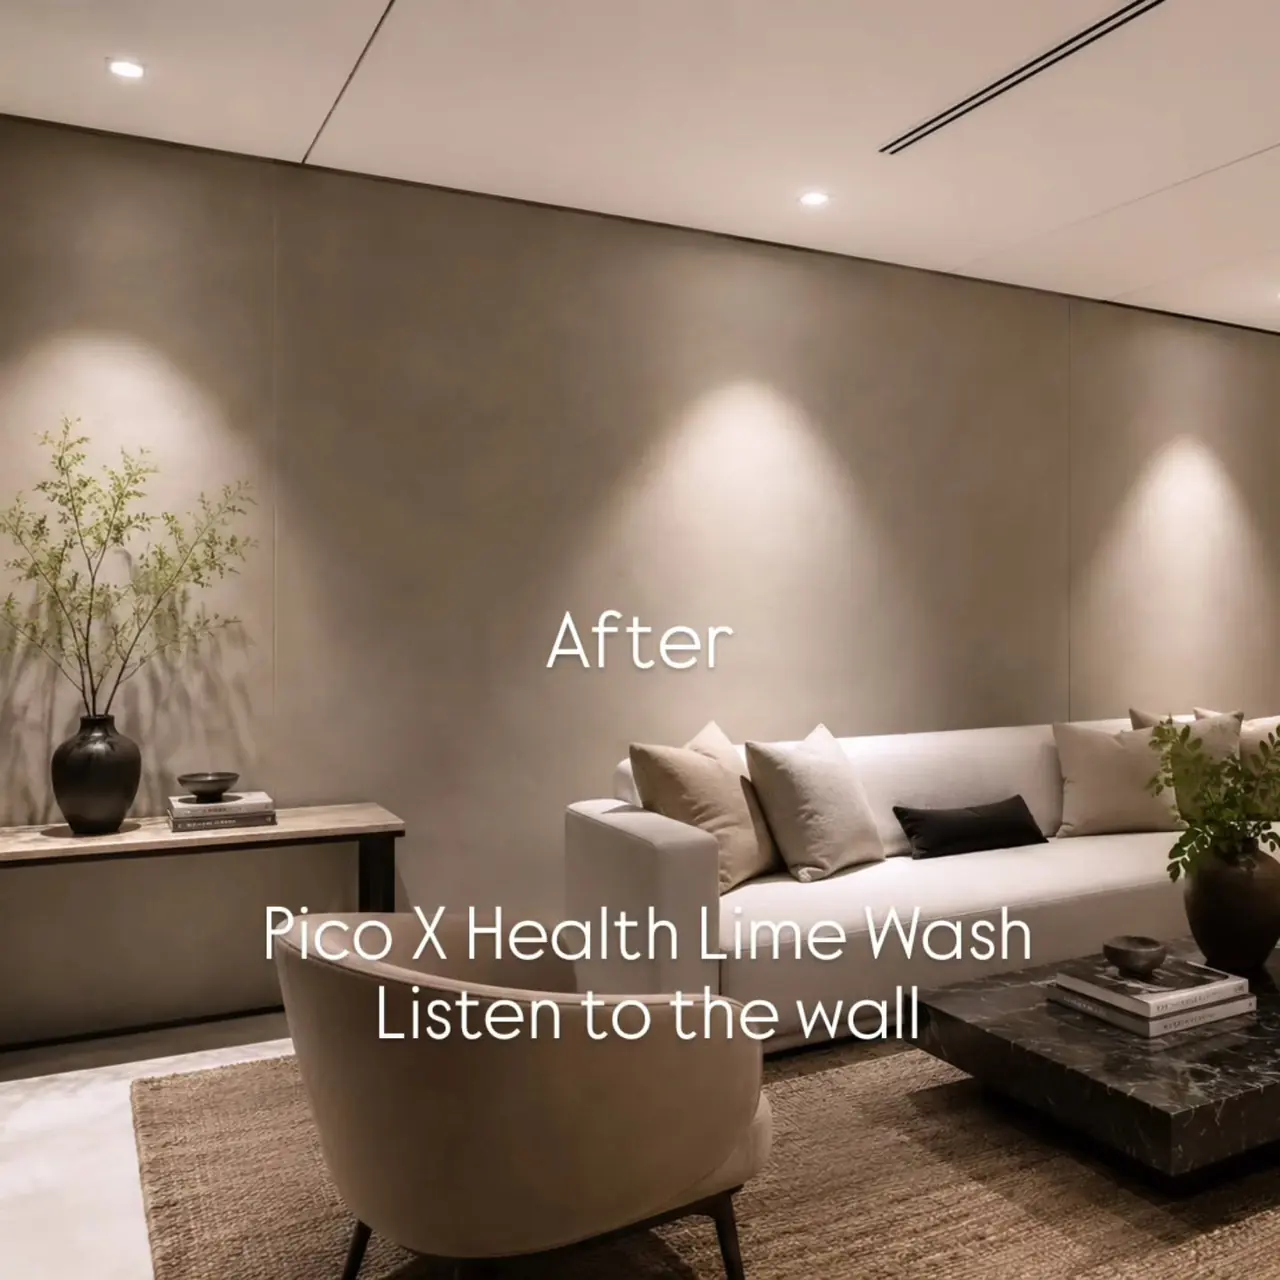
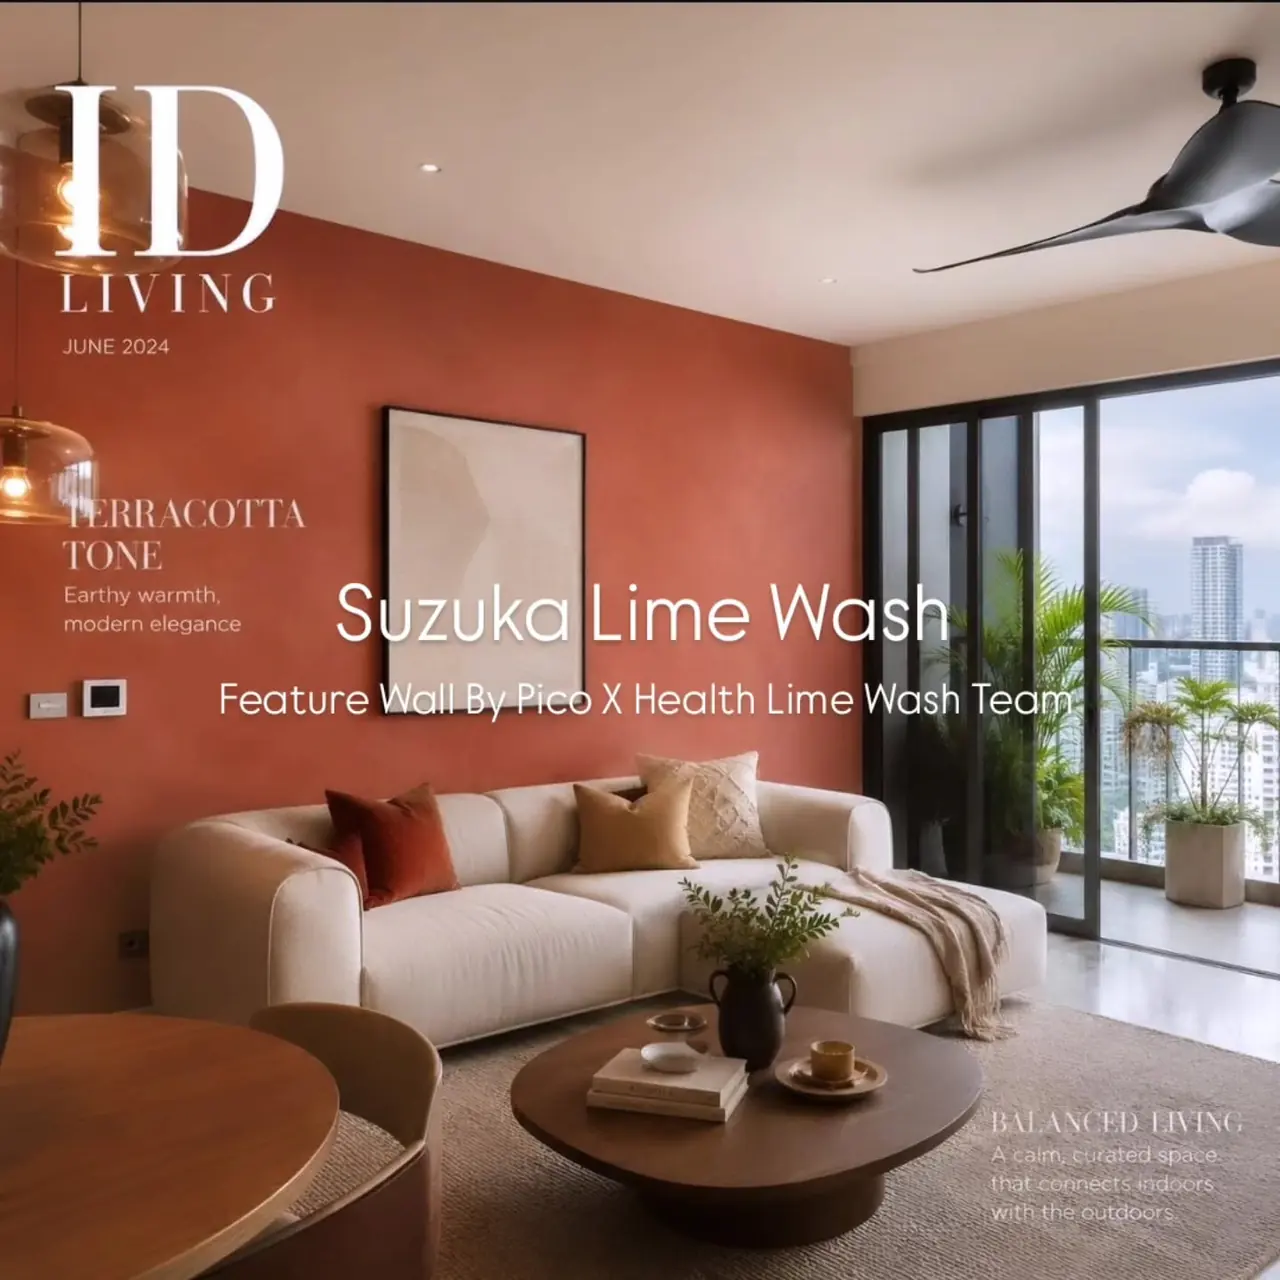
Full coverage over mineral primer is the usual limewash system for Singapore HDB walls. The wall is masked, sanded with 240-grit paper, cleaned, primed, then brushed in cross strokes with drying time between coats. Damp, mouldy, flaking or salty walls must be repaired first, especially before 10 m².
From bare HDB wall to cured limewash finish — every step, every drying time, every shortcut that causes failure. Written by a certified Raffles / Suzuka applicator who's done this 200+ times in Singapore homes.
Before you start: is your wall even ready?
Limewash needs a porous, sound, mould-free surface to bond. In Singapore that usually means one of three scenarios:
- Fresh BTO skim coat — best case. Mineral primer + full coverage and you're done.
- Older HDB with emulsion paint — needs sanding, a bonding mineral primer, then limewash. Don't skip the primer.
- Damp or mouldy wall — fix the leak / mould first. Limewash will not save a compromised wall.
If you have any visible cracks, flaking paint, or efflorescence (white salt deposits) — patch and prime first. Limewash highlights every imperfection underneath.
Step 1 — Mask and protect (1 hour)
Limewash spatters. It's caustic when wet. Use painter's tape on adjacent walls, ceilings, switches, and skirting. Drop sheets on flooring. Wear gloves and old clothes.
Step 2 — Sand and clean (30 min per wall)
Knock back any glossy emulsion with 240-grit sandpaper. You're not stripping — just dulling the surface so primer grips. Wipe down with a damp cloth to remove every speck of dust. Let dry completely.
Step 3 — Mineral bonding primer (full coverage, 12 hour cure)
This is the step everyone wants to skip and shouldn't. A mineral-based bonding primer (Raffles and Suzuka both supply matching primers) is what gives the lime something to grip on a modern wall. Roll it on to full coverage, then let it cure overnight in SG humidity.
Step 4 — Mix the limewash properly
Stir for a full 3 minutes — pigment settles. Most brands tolerate 5–10% water for brushability; do not over-thin or coverage and texture both suffer. Pour into a separate bucket — don't dip your brush in the original tin (contamination).
Step 5 — Base application
Use a 4–6 inch natural-bristle brush. Synthetic brushes leave hard lines. Work in 1 m × 1 m sections using cross-hatch strokes — first horizontal, then vertical. Keep a wet edge. The base application WILL look streaky and patchy. This is normal. Resist the urge to add more product.
Step 6 — Dry 4 to 8 hours (longer in SG)
In Singapore's humidity (often 80%+ RH), allow at least 6–8 hours between application layers. Touch-dry doesn't mean cured. If the wall still feels cool to the touch, wait longer.
Step 7 — Complete the texture to full coverage
This is the texture people see. Apply at a 90-degree angle to the base application — if your first strokes were diagonal-left, the finishing strokes go diagonal-right until full coverage is achieved. Use slightly less pressure. This is where the cloudy "limewash" depth appears.
Step 8 — Cure for 2–3 weeks
The wall is touch-dry in hours but full carbonation (the chemical reaction that hardens limewash) takes 2–3 weeks in Singapore humidity. During this window:
- Don't scrub it.
- Don't run aircon on dehumidify-blast — too dry slows carbonation too.
- Don't hang anything heavy yet.
Common DIY failures (and how to avoid them)
- Streaky finish. You over-thinned the lime or used a synthetic brush. Use natural bristles, mix per brand spec.
- Chalking off when you touch it 3 months later. You skipped the primer or applied over a non-porous emulsion.
- Patchy coverage. Application stopped before full coverage, or finishing strokes followed the same direction as the base application.
- Yellow tide marks. Wall was damp underneath. Limewash is breathable, which means any moisture migrates to the surface.
Should you DIY or hire?
Honestly: for a single small accent wall and an experimental personality, DIY is fine — budget around From $180 for material and a weekend of work. See our pricing page for supplied-and-applied work: See the full limewash price list for Singapore (2026). For anything larger than one wall, or anything visible to guests, hire it out. Pro application includes the lime, primer, prep, full-coverage brushwork by an experienced hand, and a 5-year warranty. The math usually favours hiring once you factor in re-do risk.
Want a quote?
WhatsApp a photo of your wall to 8751 5146. We'll send back a fixed quote within the day — no site visit needed for a feature wall.
Part of our complete guide
Limewash Painting Singapore →
Pricing, gallery, and full product info for Suzuka and Raffles Paint limewash applied across Singapore HDB, BTO, and condo homes.
Related Limewash Guides
Customise Your Limewash Colour →
Six questions, one shade and undertone suited to your room.
Where to Buy Limewash →
Real brands sold in SG and what they cost.
Limewash for HDB / BTO →
Surface prep specifics for SG flats.
Cost Singapore 2026 →
Transparent per-wall and per-flat pricing.
Design & Aesthetics →
21 editorial plates: tone, scope, room, pairings.